

Night Sky Photography: Camera & Phone (Settings, info)
In today’s world, thanks to advancements in photography, various types of cameras and lenses, capturing the night sky, and taking amazing pictures of celestial objects has become an art that is both simple and somewhat complex. With the right equipment, knowledge of photography techniques, practice, and experience, you can create artistic images of the sky and the Milky Way galaxy.
Understanding lighting techniques and using photo editing software can greatly enhance your photos. Remember that understanding the fundamentals of photography is the first step in photographing the night sky. It is safe to say that the night sky is one of the most special creations of God, and the stars, the moon’s radiance, the Milky Way, and more can all be subjects for capturing fantastic images.
Astrophotography
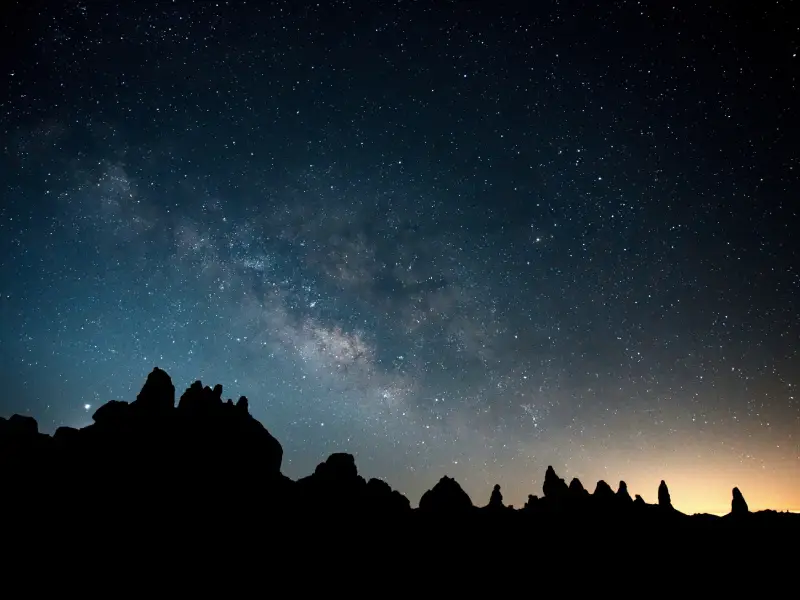
Astrophotography is a fascinating form of photography that comes in two main parts: astronomy and landscape. In the astronomy part, the focus is on capturing celestial objects like stars and galaxies.

In the landscape part, the goal is to combine the beauty of the Earth’s scenery with the night sky. However, capturing these subjects in the darkness of the night presents several challenges.
To take perfect pictures of the night sky, it is important to follow some key tips. In the following, we will explain the step-by-step process of astrophotography, from start to finish, so you can take professional-looking photos of stars and the Milky Way using these helpful guidelines.
Night Sky Photography Tutorial
First, you can adjust your shutter speed to 10, 15, or 30 seconds, allowing more light into your camera and improving your shots in darker scenes. Start with 10 seconds, then decrease it, as slower shutter speeds might capture star trails.
When your shutter speed is around 1/60 or slower, it is essential to keep your camera steady to keep your photos sharp. A popular tool for this purpose is the GorillaPod tripod, known for its portability and versatility. If you want a more professional option, consider the MeFoto Road Trip Travel Tripod.
Another way to allow more light into your camera without introducing lens flare is to adjust the aperture’s f-stop value or the lens’s aperture. A wider aperture, represented by a lower f-stop number, lets more light enter your camera.
When photographing in the dark night sky, focusing can be challenging because you can not see much. It is advisable to use manual focus in addition to focus peaking, if available, to identify your subject at least.
In night sky photography, it’s a good practice to start with a reasonable ISO setting, around 3200 to 6400, to evaluate your final image’s appearance. Then, if necessary, increase the ISO to capture what you want. Adjusting the ISO is the last option mentioned because you should explore all other lighting options first to maintain high image quality.
Night Sky Photography for Beginners
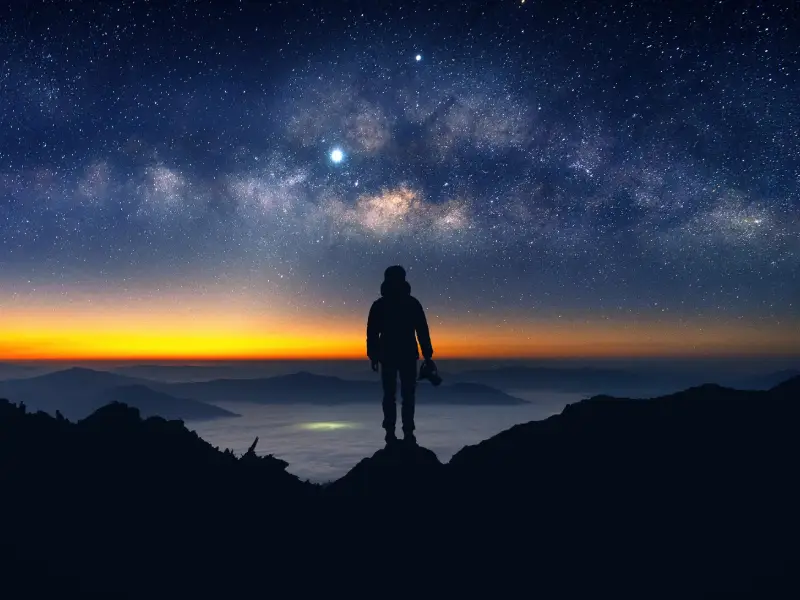
Night sky photography for beginners is an exciting journey to capture the wonders of the night sky. With just a basic camera and a sturdy tripod, you can start your adventure.
As a starting point, find a dark place away from city lights where the stars shine brightly. Using a wide-angle lens, set your camera to manual mode and adjust the settings.
Start with a low ISO (around 400-800) to reduce noise, a wide aperture (f/2.8 to f/4) to collect more light, and a shutter speed of 15-30 seconds to capture twinkling stars.
Test these settings and be patient since it may take a few tries to get your perfect shot. Do not forget to include an interesting background element to make your photos more attractive.
As you progress, learning about post-processing techniques using software like Adobe Lightroom or free alternatives can help enhance your photos.
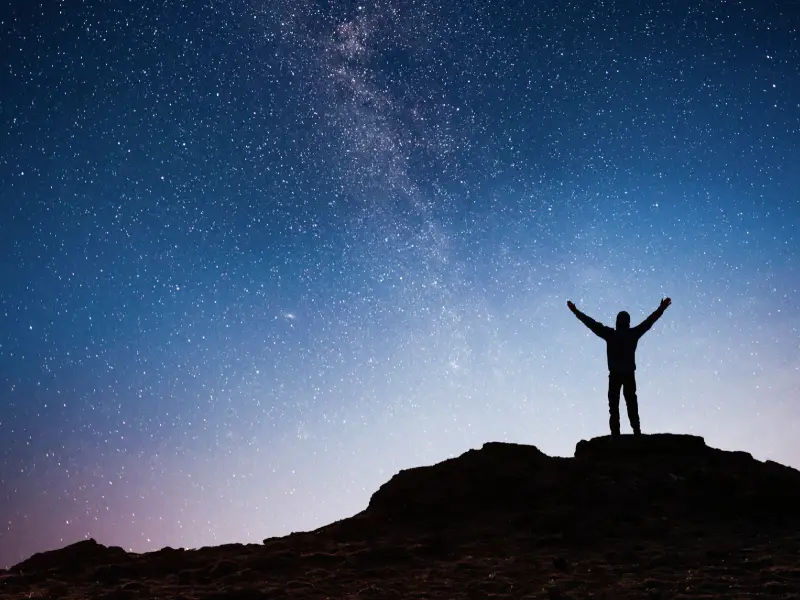
Night sky photography is not just about capturing stars; it is about telling a story of the night sky. With practice, dedication, and a sense of wonder, beginners can create stunning images that show the beauty of the night.
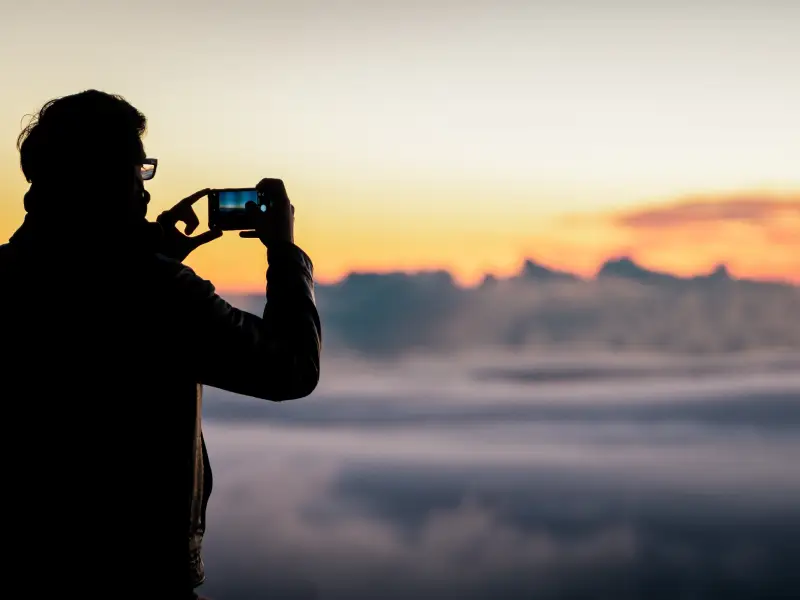
Night Sky Photography with Phone
Night sky photography with a phone is an enjoyable way to capture the beauty of the night without the need for expensive camera equipment.
Most modern smartphones come equipped with night mode or astrophotography features that can help you take great shots of the stars, moon, and the Milky Way.
To get started, find a location with minimal light pollution and set up your phone on a stable surface or tripod. Make sure to turn off the flash and set your phone’s camera to its night mode or low-light setting.
Night Sky Photography Settings for Mobile
Adjust your phone’s ISO to a lower value (typically around 100-800) to reduce noise and use a longer exposure time (usually 10-30 seconds) to capture more light from the stars.
Test with different compositions by framing the stars alongside interesting foreground elements like trees or landscapes to add depth to your photos.

Remember to be patient and take multiple shots to increase your chances of getting that perfect night sky photograph. With practice and a steady hand, you can capture amazing images of the night sky using just your smartphone, allowing you to share the wonders of the universe with your friends and family.
Night Sky Photography Settings Canon
When it comes to night sky photography settings for Canon cameras, a few key adjustments can make a big difference. First, switch your camera to manual mode (M) for full control. Set your ISO to a low value, like 400 or 800, to reduce noise and make sure your images are clear and crisp.
Use a wide aperture, often found in lenses with lower f-stop values like f/2.8 or f/4, to let in more light. For shutter speed, start with around 15-30 seconds to capture the beauty of the stars and adjust as needed.
Do not forget to use manual focus and set it to infinity, or focus on a distant bright object to keep your stars sharp. Experimenting with these settings and practicing in different conditions will help you capture the best night sky photos with your Canon camera.
What is the Best ISO for Shooting Stars?
The best ISO setting for shooting stars is usually a lower ISO, such as ISO 400 to ISO 800. Lower ISO values result in less digital noise in your night sky photos, which can make the stars look sharper and clearer.
Higher ISO settings, while allowing for shorter exposure times, can introduce more noise, reducing the overall image quality.
However, the ideal ISO setting can vary depending on your camera’s capabilities and the specific conditions of your shoot. It is essential to experiment with different ISO settings and adjust as needed to find the perfect balance between capturing the stars and minimizing noise in your astrophotography.
Focus Methods in Night Photos
Focus methods in night photos are important for capturing clear and sharp images. The first method involves focusing at infinity (∞), which is the simplest way to achieve optimal night photo clarity.
Most lenses have an infinity symbol on them that indicates the lens’s infinite focus point. However, this method may not always be foolproof.
The second method is to focus on a subject at infinity a few hours before it gets completely dark. You can focus on the moon or a distant object near the horizon while there is still some daylight. Switch your lens to manual focus afterward, and secure the focus ring in place using tape.
The third method is to focus on a bright star in the night sky. While this method can be a bit challenging, it provides the most precise focus. To do this, install your camera on a tripod and use live view mode.
Then, use the zoom button on the display to magnify the image by 10 times, allowing you to accurately focus on a bright star. This method guarantees sharp and well-focused night photos.
Final Word
In conclusion, night sky photography is an attractive and accessible way to capture the beauty of the celestial world above us. With the right equipment, camera settings, and a bit of practice, you can take stunning photos of stars, the moon, and even the Milky Way.
Remember, it is not just about the equipment; knowing the basics of photography and understanding techniques like composition and lighting are essential.
So, grab your camera, head to a dark spot away from city lights, and begin your journey to capture the wonders of the night sky. With patience and dedication, you will be able to create remarkable photos that showcase the beauty of our world.
Are you planning to travel to Iran and looking for an Iran resort? Consider Matinabad eco resort.


Leave a Reply
Want to join the discussion?Feel free to contribute!